Moving to Japan is one of those life decisions that feels exciting right up until you’re standing in a ward office with a stack of documents you don’t fully understand, a Residence Card you’re not sure how to use, and a landlord waiting on a signed lease. The moving to Japan checklist most people find online covers the obvious stuff. This one goes further — it covers what actually trips foreigners up, in the order it actually needs to happen.
Japan rewards preparation. The administrative system here is logical and remarkably well-organized, but it runs in sequence. Each step tends to unlock the next. Skip one and you hit a wall. Do them in the right order and you can have the essentials — address registered, phone working, bank account open, hanko in hand — sorted within your first two to three weeks.
This guide is built for foreigners setting up life in Japan from scratch: new residents on work visas, people relocating for a partner, remote workers making the move permanent, and anyone who has realized that Japan requires a bit more intentional setup than most countries. Work through all 12 steps and you will be properly established faster than most expats manage in their first three months.
If you still need the job, start with ComfysCareer to find English-friendly roles before you finalize the rest of your setup.
Arrival Week Priorities
The first week in Japan is not the time to settle in slowly. There is a 14-day legal window from the date you move into your address to register as a resident. Everything else on this list depends on that registration happening first.
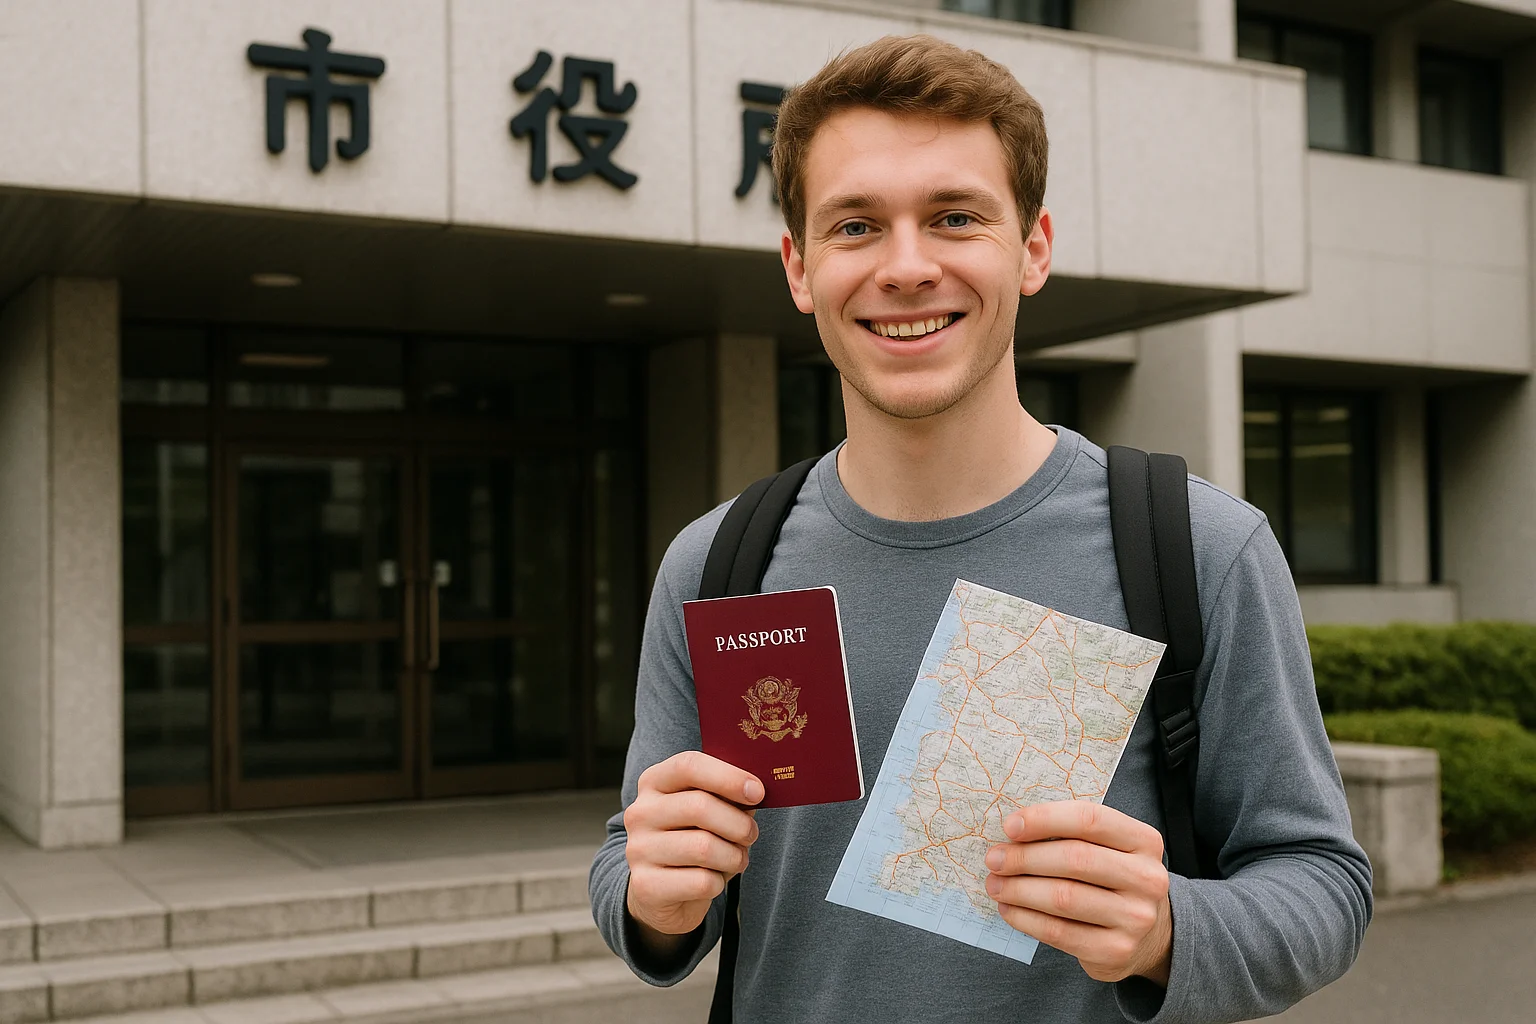
Your first stop is your local city office, ward office, or town hall — in Japanese, 市区町村役場 (shi-ku-chō-son yakuba). If you are in Tokyo, each of the 23 wards has its own ward office. Search your area name plus 区役所 to find the right one. In smaller cities and towns, there is typically one central municipal office.
Bring every document you have: passport, Residence Card, and whatever proof of address you can pull together — a lease contract, a letter from your employer, or even a photo of a utility bill with your name and address. Staff at larger offices often speak some English or have multilingual forms available. It is worth calling ahead.
The good news: steps 1, 2, and 3 below can all be handled in a single visit to the same office, often within an hour.
Your arrival week checklist:
- Register your address (住民登録, jūmin tōroku) — do this within 14 days
- Have your new address printed on the back of your Residence Card
- Enroll in National Health Insurance (国民健康保険) at the same counter
- Apply for your My Number Card (マイナンバーカード) — the card takes 3 to 4 weeks to arrive, so start immediately
- Request at least 2 to 3 copies of your Jūminhyō (住民票, resident certificate) — you will need them repeatedly
Residence Registration Basics
Residence registration is the foundation of all Japan paperwork for foreigners. Until you are registered at an address, you cannot open a bank account, sign a phone contract, get a local SIM on a proper plan, or do much of anything official. It is not optional and it is not bureaucratic fussiness — it is genuinely the first domino.
The registration process itself is straightforward. You fill out a form at the counter, staff verify your documents, and within 15 to 30 minutes you are registered. The Jūminhyō you receive is your proof of residence in Japan. Treat it like a utility — something you will need copies of regularly.
Common mistakes at this stage:
Many foreigners arrive expecting to handle everything digitally or by post. Japan’s administrative system, particularly at the municipal level, still runs largely in person. Trying to skip the city hall visit will cost you more time than it saves. A second common mistake is leaving the office with only one copy of the Jūminhyō. It costs a few hundred yen per copy and you will use them for your bank application, your phone contract, and potentially your hanko registration. Get several while you are there.
A third mistake: assuming your ward office visit can wait until the weekend. Many ward offices are closed on weekends, or open only on specific Saturday mornings. Check the hours before you go.
Micro-scenario: Priya arrived in Osaka on a Thursday, moved into her apartment, and planned to sort the paperwork “next week.” The following week she tried to open a bank account. The bank needed her Jūminhyō. She had not registered yet. She had to go to the ward office first, then return to the bank two days later with copies. Two extra trips that a single organized visit in week one would have prevented.
Phone + Internet
You need a working phone number in Japan. Not just for personal use — your bank will send SMS verification codes to it, your landlord will contact you on it, and your employer’s HR system will likely require one during onboarding.
For a SIM card or phone plan, the most accessible options for new foreigners are:
- Rakuten Mobile — flexible plans, English-language app, no long-term contract required, physical stores nationwide
- IIJmio — reliable MVNO with good English support and competitive pricing
- Major carriers (Docomo, SoftBank, au) — full service but often require a longer residency history and a credit check
To sign up for any plan, you will need your Residence Card, passport, and a registered Japanese address. This is why Step 1 comes first.
For home internet, apply as early as possible. Fiber installation in Japan is fast and affordable — speeds are genuinely excellent — but the wait for a technician visit can run one to three weeks. The main providers are NTT Flets Hikari, SoftBank Hikari, au Hikari, and NURO Hikari. Many have English application pages or English-speaking support lines.
While waiting for installation, a pocket WiFi rental or a high-data SIM plan will cover you. Both are available at major airports and online before you arrive.
Bank Account + Salary Setup
Opening a bank account in Japan as a foreigner is one of the most discussed pain points in expat communities — and the frustration is legitimate. Requirements have tightened in recent years, documentation needs vary by institution, and some banks have historically been reluctant to open accounts for foreign nationals with short residency histories.
That said, the landscape has improved. Here is what actually works:
Japan Post Bank (ゆうちょ銀行) remains the most accessible option for newly arrived foreigners. It accepts a wide range of documents, has branches and ATMs at every post office in the country, and the application process is relatively straightforward. For a first account, this is often the recommended starting point.
Online banks — Rakuten Bank, Sony Bank, PayPay Bank — do not require a hanko, often have English interfaces, and can be opened entirely online once you have your Residence Card and My Number. These are increasingly popular with foreign residents.
Traditional major banks (Mizuho, MUFG, SMBC) commonly require a ginko-in hanko, a longer period of residency, and sometimes an appointment. They are worth having eventually for salary deposits at certain employers, but they are not the easiest place to start.
Micro-scenario: James moved to Nagoya for a teaching position. His school’s payroll system required a specific major bank account. He went to open one in his second week, only to be told he needed a registered hanko and had been resident for less than six months. He opened a Japan Post Bank account for immediate use, asked his school to use that temporarily, and opened the major bank account three months later once he had his full documentation in order. It added steps, but it worked.
What you commonly need to open a bank account in Japan:
- Residence Card
- Passport
- Jūminhyō (resident certificate)
- My Number Card or notification slip
- Hanko — required at traditional banks, not required at most online banks
- Initial deposit (varies by bank, typically 1,000 to 10,000 yen)
Once your account is open, provide your employer with your account number (口座番号), branch code (支店番号), bank name, and account holder name in katakana. Most payroll departments need this at least a week before your first payday. Set up automatic bill payments (口座振替) for utilities as soon as possible — it saves significant administrative overhead each month.
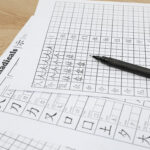
Hanko Step (What to Buy First)

The hanko — your personal name seal — is one of the most distinctly Japanese elements of setting up life in Japan as a foreigner. In a country where stamped seals have historically carried legal weight comparable to a signature, understanding which type you need and when you need it is genuinely practical knowledge, not a cultural curiosity.
The three types you will encounter:
Mitome-in (認め印) is the everyday seal. Used for receiving packages, acknowledging workplace documents, and low-stakes daily interactions. Inexpensive, widely available, does not need to be registered anywhere.
Ginko-in (銀行印) is registered with your bank when you open an account. Used to authorize transactions and account changes at traditional banks. Should be kept separate from your mitome-in to reduce fraud risk.
Jitsu-in (実印) is your officially registered seal — recorded at city hall and certified via an inkan shōmeisho (印鑑証明書, seal registration certificate). Required for apartment lease contracts, purchasing a vehicle, taking out a loan, and other major legal transactions.
What to get first as a foreigner:
Most foreigners benefit from starting with a combined seal that functions as both mitome-in and ginko-in — one well-made seal covering everyday use and bank registration. Add a separate jitsu-in when you are ready to sign a lease or make a major purchase.
The foreigner-specific challenge is name rendering. Japanese hanko are traditionally made with kanji characters. For foreign names, the standard approach is katakana — the phonetic script used for non-Japanese words. Romaji (Latin letters) is also accepted at most banks and city halls, though katakana is generally considered more standard.
Size matters too. Ginko-in seals commonly fall in the 13.5mm to 16.5mm diameter range. Jitsu-in must meet city hall registration specifications, which vary slightly by municipality. Getting the size or rendering wrong means the seal is rejected — at the bank counter, or at city hall — and you are starting over.
Micro-scenario: David registered his hanko at city hall for his apartment lease in Fukuoka. He had ordered a generic seal online without checking the size requirements. The seal was 12mm — too small to meet the ward office’s registration minimum. He had to order a new one, wait for delivery, and delay his lease signing by a week. His landlord was patient. Not all landlords will be.
HankoHub is built specifically for this situation. They handle foreign name transliteration correctly, know the sizing requirements for banking and city hall registration across Japan, and produce seals that work the first time. If you want to check this step off without the guesswork, that is the practical next move.
FAQ
Do I need a hanko for foreigners to open a bank account in Japan?
It depends on the bank. Online banks — Rakuten Bank, Sony Bank, PayPay Bank — do not require one. Traditional banks commonly do. If your target bank requires a ginko-in, get your hanko made before your bank appointment. Arriving without one means a second trip.
What Japan paperwork do I absolutely need in the first 14 days?
Residence registration, Residence Card address update, and health insurance enrollment. These three steps unlock everything else. Everything else on this checklist can follow — these cannot wait.
Can I open a bank account without a My Number Card?
Often yes — your My Number notification slip is accepted at many banks while you wait for the physical card. Japan Post Bank is typically the most flexible. Requirements vary by institution, so check before you go.
How long does it realistically take to set up life in Japan as a foreigner?
Core setup — registration, phone, bank account, hanko — typically takes two to four weeks. The main bottlenecks are My Number Card delivery (three to four weeks) and home internet installation (one to three weeks). Both can be worked around in the meantime.
What is the difference between mitome-in, ginko-in, and jitsu-in?
Three tiers of officialness. Mitome-in: unregistered, everyday use. Ginko-in: registered at your bank, used for financial transactions. Jitsu-in: registered at city hall, legally certified, required for major contracts. Most foreigners start with one seal covering the first two, then add a jitsu-in when needed.
Do I need to speak Japanese to get through these steps?
Not fluently. Major city halls have multilingual staff or multilingual forms. Online banks have English interfaces. For hanko, using a service designed for foreign customers removes the language barrier from an otherwise detail-sensitive process.
Next Steps

Work through this checklist in order and most of the common friction points foreigners hit in Japan simply do not occur. The sequence matters more than speed — but speed still helps. The sooner your address is registered, the sooner everything else unlocks.
The one step where getting it right the first time genuinely saves you time and hassle is the hanko. Name rendering, sizing, and seal type all have specific requirements that vary by purpose and institution. HankoHub handles custom seals for foreigners with exactly this in mind — correct transliteration, correct sizing, ready to use for banking and city hall registration. If you are working through this list and the hanko step is coming up, that is where to go next.